Bedrock is designed to be a more polished (and lightly modernised) counterpart to Minecraft Java, and thus comes with controller support ready to go. That’s good for the Steam Deck – or it would be, if Microsoft didn’t have such an iron grip on the Windows build that it’s one of the few games that’s outright impossible to get running on Valve’s handheld. The Android version, on the other hand, can work here, and is largely identical to the Windows build, outside of a lack of VR support and the ability import or export worlds.
It’s therefore the Android version that you’ll need to own before starting this guide, regardless of whether you already have access to Minecraft Bedrock through a PC Game Pass subscription. Don’t be fooled by it being named Minecraft: Play with Friends on the Play Store, either, as this is indeed the Bedrock edition. Annoying? Maybe a little. Confusing? Not if you follow these steps.
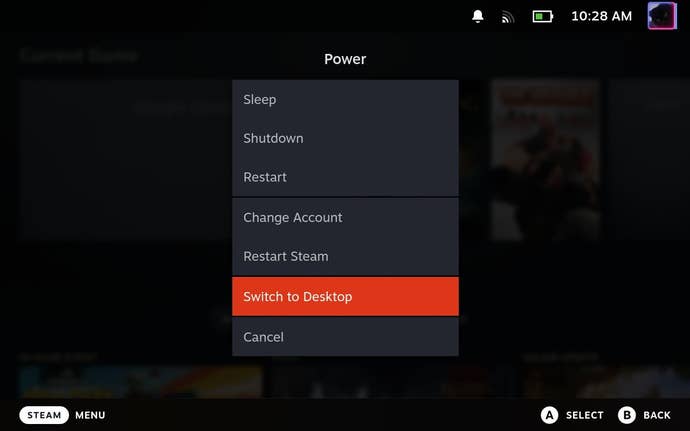
Step 1: Open Desktop Mode by holding down the power button and selecting “Switch to Desktop”.
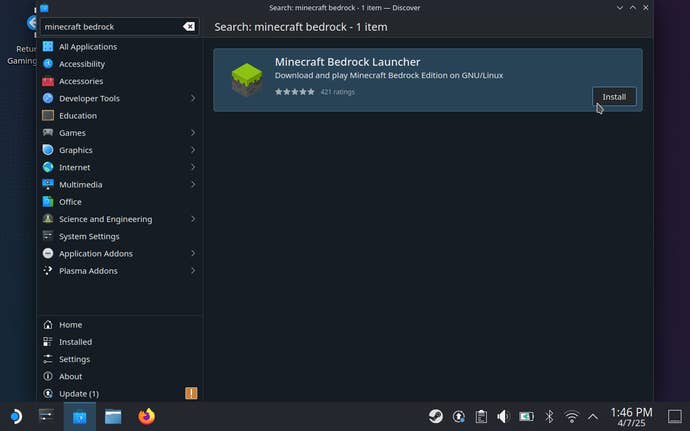
Step 2: Open the Discover app, then search it for Minecraft Bedrock Launcher. Install it once it appears in the search results.
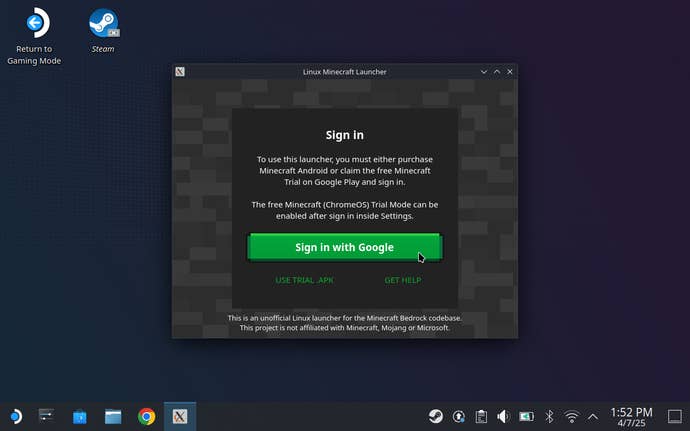
Step 3: Open the launcher and click “Continue”.

Step 4: Click “Sign in with Google” and, y’know, do that. This should be the Google account that you already own Minecraft Bedrock/Play with Friends on, having bought it from the Google Play Store.
Once you’ve punched your credentials in via the browser window, you can optionally type in an additional password to use with this launcher – or, if you don’t want to, you can leave the password field blank. Either way, hit “Save and complete Login”.
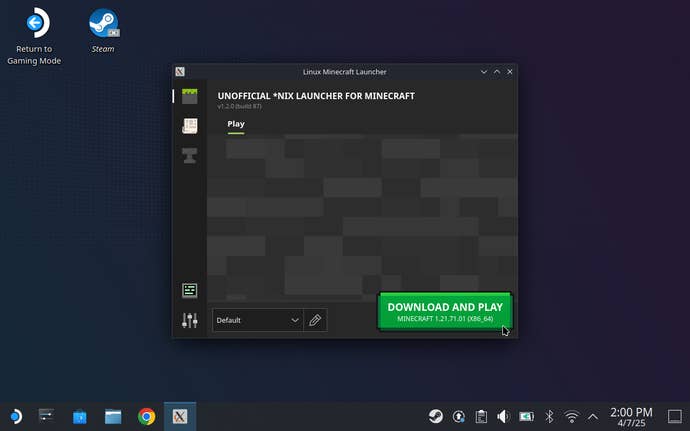
Step 5: Click that big, green, enticing “Download and Play” button. Within moments, Minecraft will download and install itself onto your Steam Deck.
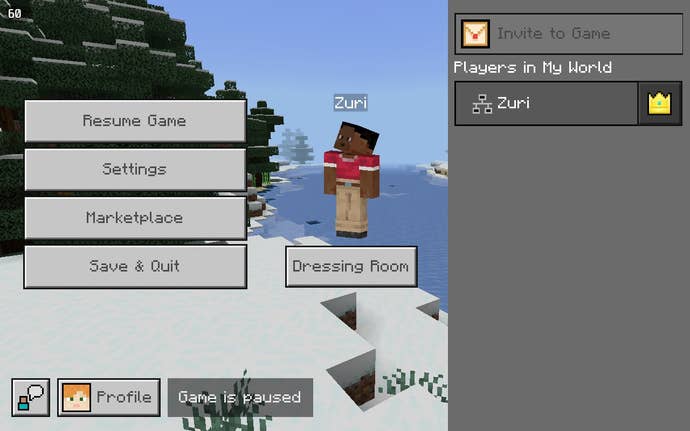
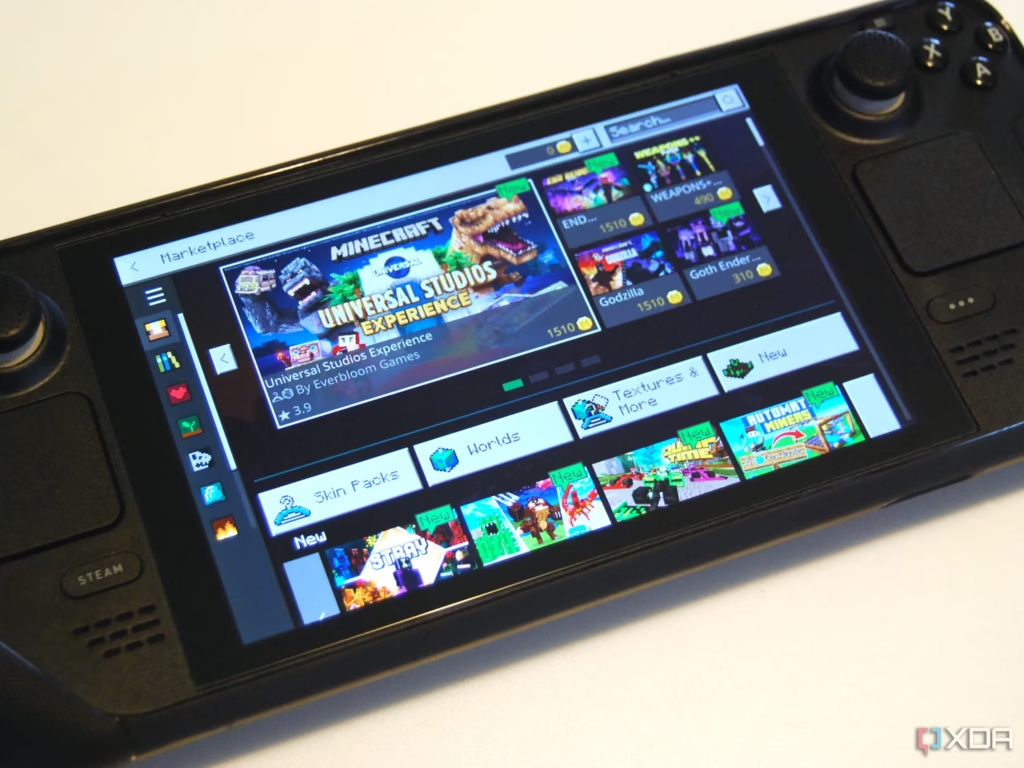
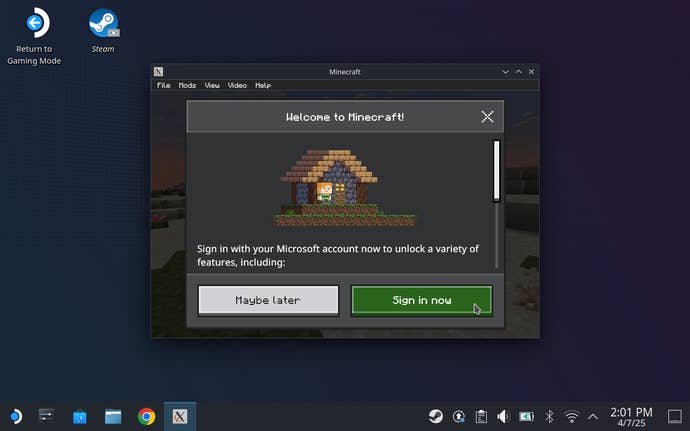
Step 6: If you want access to Realms, Profiles and Bedrock Edition’s Marketplace, click “Sign in now” and log into a Microsoft account. To just play solo, you can simply click “Maybe later” and get into the game immediately.
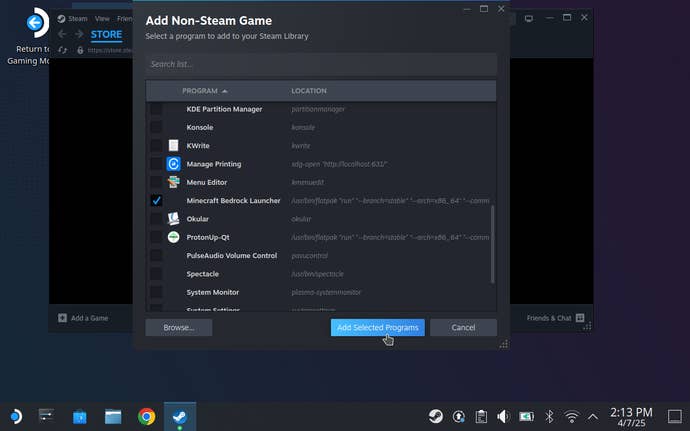
Step 7: Close Minecraft – yes, this sounds counterintuitive, but bear with me – and open up Steam. Click “Games”, then “Add a Non-Steam Game to My Library”, and then select Minecraft Bedrock Launcher from the list of apps. Click “Add Selected Programs” to stick the launcher in your game library, making it (and thus Minecraft) easily accessible from the Deck’s Gaming Mode.
Step 8: Restart your Steam Deck. Back in Gaming Mode, you can now launch the Bedrock Launcher from the Non-Steam section of your Steam library. No need to faff around with community controller settings here, thanks to Bedrock’s built-in controller support.

Step 9: You’re almost good to go, except by default, Minecraft Bedrock won’t make full use of the Steam Deck’s display space. Amend this by tapping “Video” at the top of the screen, making sure the full 1280×800 resolution setting it checked, then tapping “Toggle Fullscreen”.
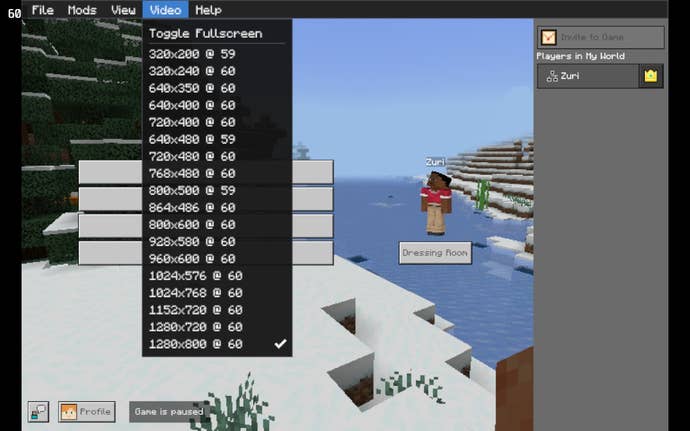
Ahh, that’s better.